1
/
of
1
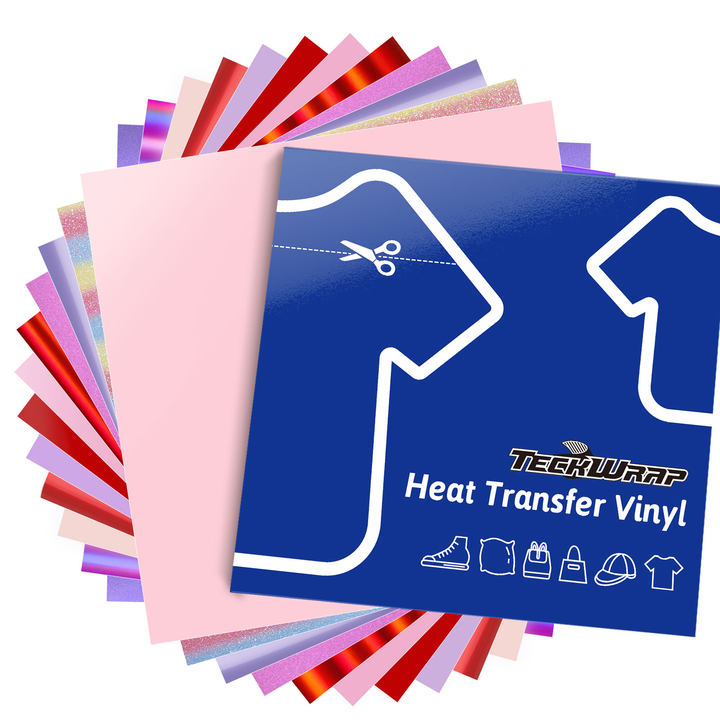
Valentine HTV Sheets Pack(12PCS)
Valentine HTV Sheets Pack(12PCS)
Regular price
$19.00 USD
Regular price
$22.00 USD
Sale price
$19.00 USD
Unit price
/
per
Shipping calculated at checkout.
Couldn't load pickup availability
Share
Valentine HTV Sheets Pack
Size: 12"x12" x12 PCS
Colors: Reflective Pink Beige/Metallic Chrome Lilac /Ombre Glitter Cotton Candy/Metalic Pearlescent Matte Fuchsia/Metalic Pearlescent Iris Purple/PU Pink/PU Light Pink/PU Lilac /PU Red/Soft Holographic Purple Pink/Soft Holographic Flame Red/Metallic Chrome Flame Red
Features
- Incredibly durable with strong waterproof adhesion
- Cotton-friendly heat transfer vinyl for shirts, hoodies, bags, hats, aprons, pillowcases
- Extremely attractive color-changing vinyl in 4 premium color options
- Clutter-free cutting and weeding to your desired shape, size, pattern, or design
- Lightweight and thin texture that allows easy transfer
- Compatible with most craft cutters and die cutters
How to Create Designs
- Compatible with Craft Cutters, Die Cutters, Sign Plotters,etc.
- Mirror/Reverse your image design.
- Place vinyl (gloss side) onto cutting mat.
- Adjust proper blade speed and cutting pressure.
- Weed all of the excess slowly, leaving the delicate design letters or graphics.
- Make sure the finished product faces the right way once ironed onto your fabric.
- Lay out the fabric. Place the t-shirt or fabric on a hard, flat clean dry surface.
- Place cardboard to protect the transferred image onto both sides of the t-shirt.
- Set a heat press machine from 150℃(302℉) to 160℃(320℉).
- Press it only for 8-12 seconds at medium pressure.
- Iron on the vinyl gloss side. Do not use a steam iron.
- Disperse the iron's heat evenly. Be sure to consistently apply pressure so the complete image is fully attached and prevent scorching the paper and cracking the image.
- Wait for the vinyl to COOL and gently peel off backing after a few minutes
Know more about using heat press on vinyl in this post.